
Dew Lab Studio Delphi Installation
These instructions are applicable to both Core and High Performance version of Dew Lab Studio. The installation was performed on Windows 10 64bit. After downloading the zip file and running the executable, you will be presented with Smart Screen question, if you want to run the application of the Publisher "Rosa Raziskave in Razvoj". The installation will also require "Run as administrator" elevation. Once confirmed, you can continue to the next screen:
1.)First screen:
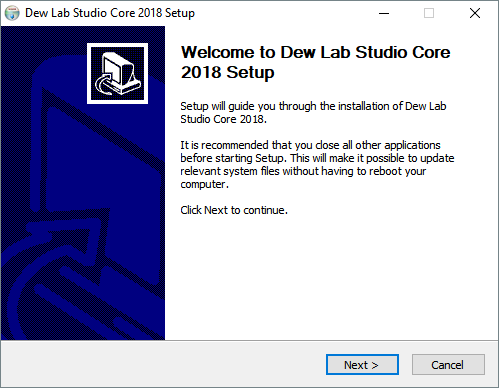
2.) Press next and you get to see:
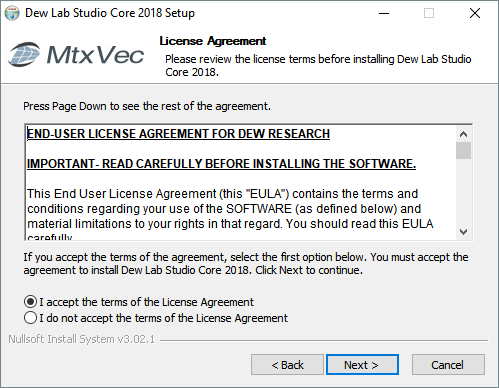
3.) Agree to the terms, if you wish to continue. Press next to get to:
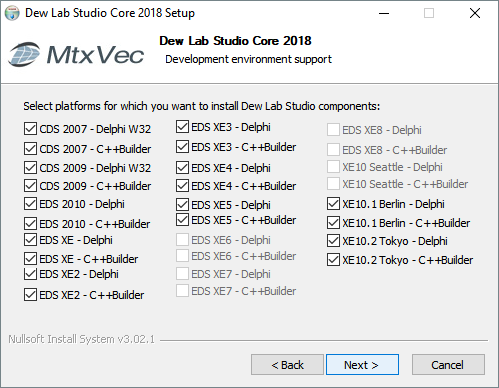
Here you get see the list of supported platforms. If the platform is shaded out, it means, it could not be found on your computer. If all platforms are shaded out, you can still continue, but the "Binaries" will not be installed to your computer. Only Help files, documentation and Examples will be present.
4.) After making the selections, press Next:
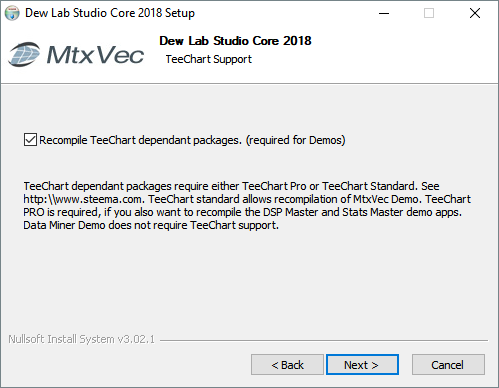
This is recommended to leave checked.
5.) Press next and you are presented with:
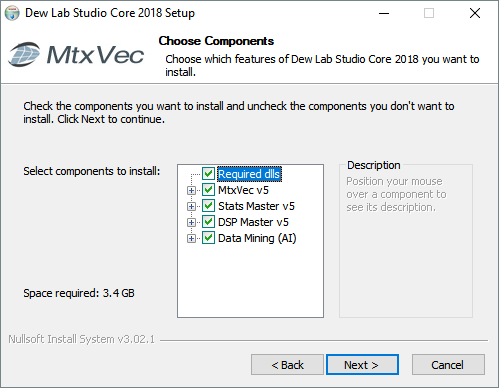
Select all or MtxVec at minimum.
6.) Press Next:
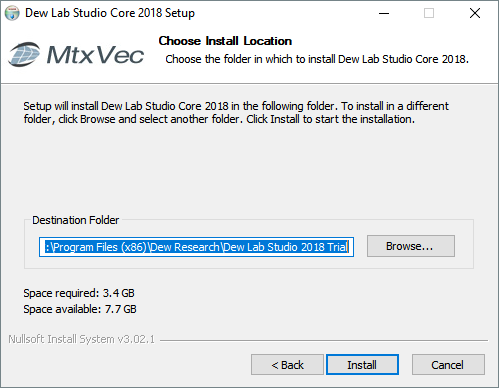
Some AntiVirus software may prevent writes to the specified folder. Additionally you also needed have full read/write access to this folder. After installation verify that files actually exist in this folder. Press Install.
7.) Shows files being copied:
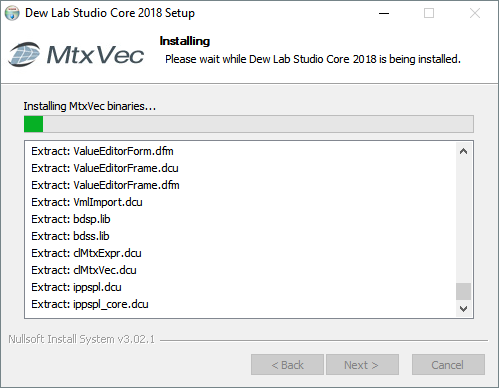
If there is a problem with AntiVirus or Read/Write access to the folder, the installer will not stop. Instead some lines will show "skipped" in the log. For the installation to succeed there should be zero "skipped" messages in the displayed log.
8.) After file copying has finished, and if you have selected "Recompile TeeChart" under point number 4 above, you are presented with:
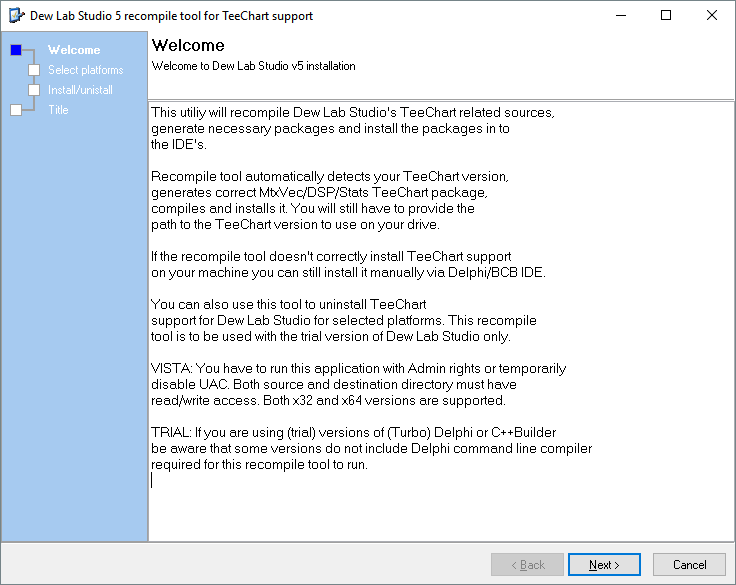
This a separate executable launched by the installer.
9.) After pressing next
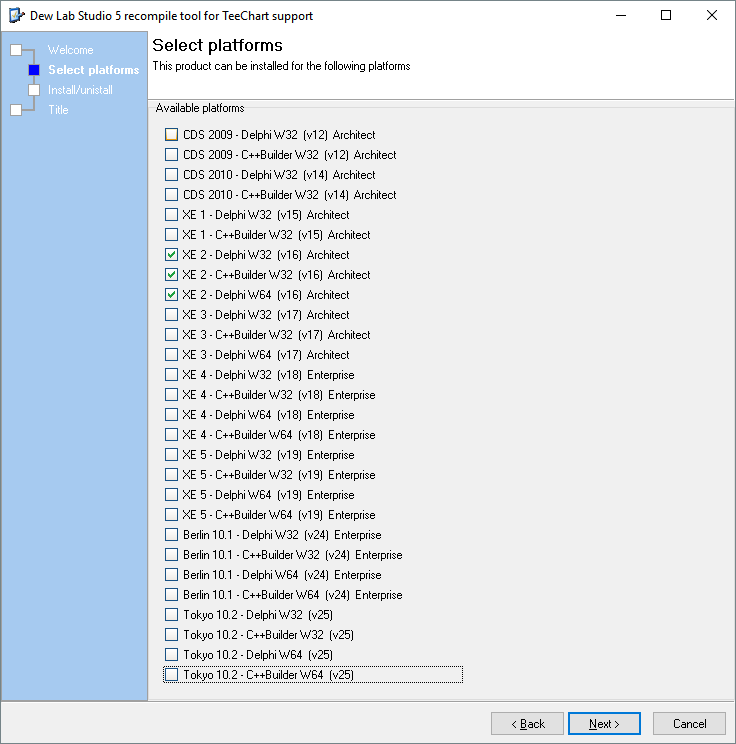
Here you should select platforms for which you want the TeeChart support to be installed and then press next.
10.) We get to:
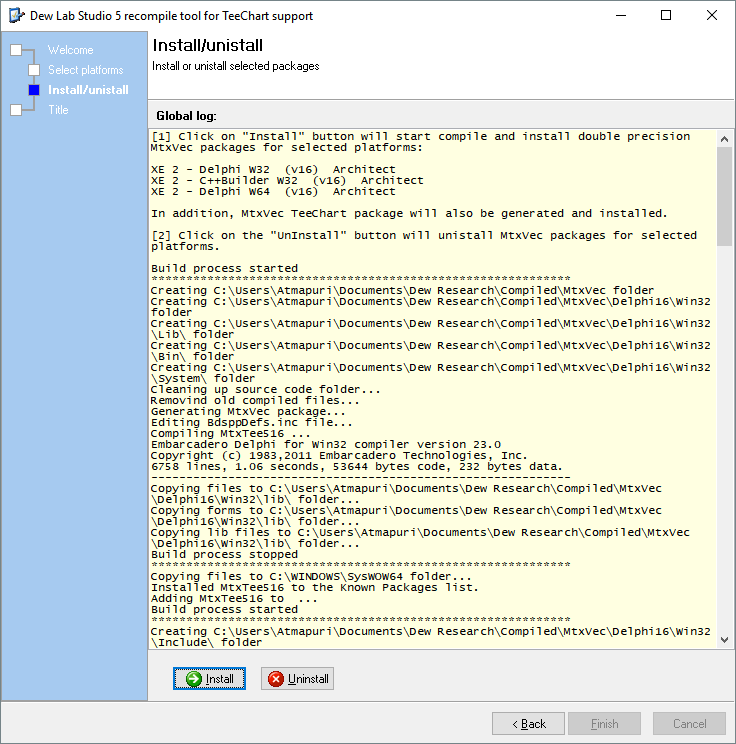
There should be no errors reported in message dialogs or displayed in the log! Scroll down to verify the build process.
11.) A message will pop up at the end of the build process:
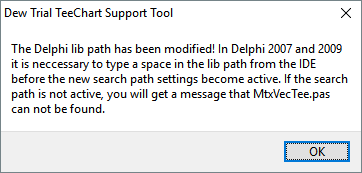
This is not an error. It only provides additional information. Press OK.
12.) Press Finish to close the build tool. This will return you back to the installer:
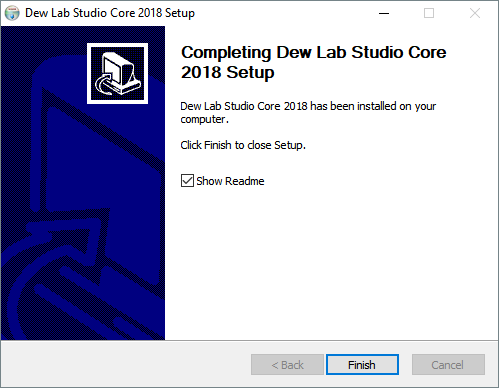
Press Finish.
13.) Finally verify the installation and existence of folders and files:
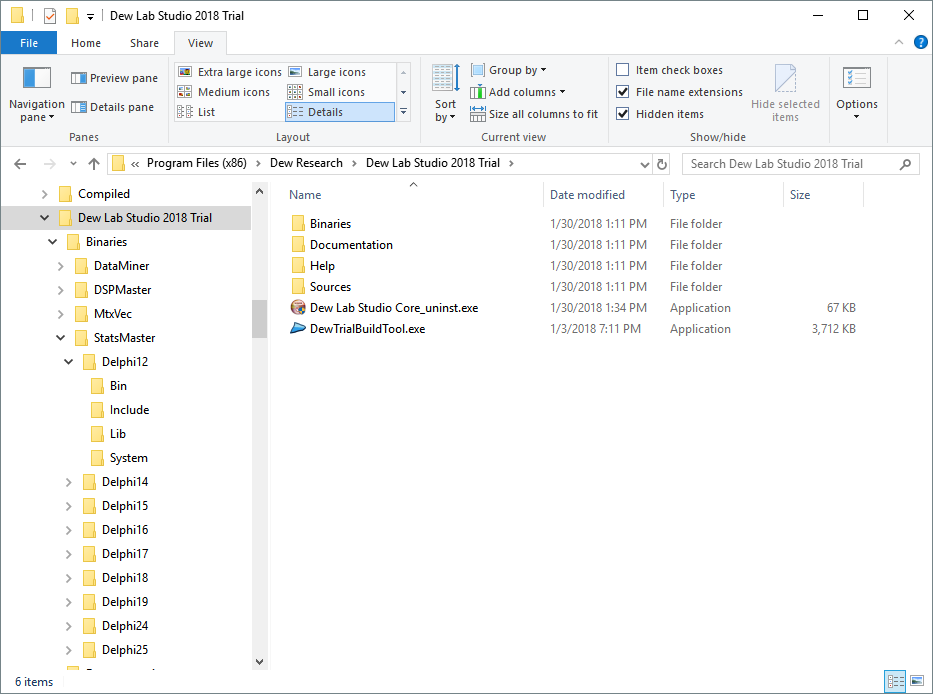
14.) If everything went OK, you can now start your Delphi or C++Builder and build the demo applications, which were installed to:
C:\Users\YourWinUser\Documents\Dew Research\BCX Examples (for C++Builder)
C:\Users\YourWinUser\Documents\Dew Research\Examples (for Delphi)
After opening for example:
C:\Users\YourWinUser\Documents\Dew Research\Examples\MtxVec\MtxVecDemoW32_D16.dproj
You should be able to compile and run the applications without any further changes. The D16 stands for Delphi version and you need to open the project which matches your Delphi version. D16 means Delphi XE2. D25 stands for Tokyo 10.2, etc..
15.) Sometimes only copying of dlls to "C:\Windows\System32" and "C:\Windows\SysWOW64" will be blocked. In this case locate the "Dll" folder in the installation dir and copy the files manually.
32bit to C:\Windows\SysWOW64
64bit to C:\Windows\System32
Possible error messages
1.) When starting Rad Studio or the Demo application, the error (0xc000007b) is reported:
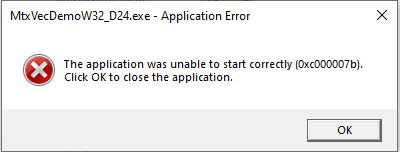
This error means, that one of the dlls was not correctly copied or that the Visual Studio Runtime libraries are not present on the system. The Visual Studio runtime libraries need to be installed both for 32bit and 64bit. MtxVec requires VC Runtime since version 6.3.
2.) When starting Rad Studio or an application the error:
Missing procedure entry point __kmpc_masked
is reported. This means that the version libiomp5md.dll is too old and a newer version needs to be copied.